Amazon Elastic Load Balancer (ELB)
A complete guide on Amazon Elastic Balancer with Hands-On.

DevOps by profession because every developer needs Heroes :)
Amazon ELB allows you to make your applications highly available by using health checks and distributing traffic across a number of instances.
Consider that you have a WordPress blog running on a single t2-micro EC2 instance. Now you publish an article, it goes viral and your site gets hundreds of thousands of requests. Since you are using a single t2-micro, your website will probably crash.
So, what can you do to avoid this?
You may decide to launch a more significant instance like an m5-large in place of a t2-micro. This is called vertical scaling when you replace an instance with a more powerful instance.
But vertical scaling isn’t always economical.
Another approach can be to use a bunch of smaller instances like t2-micros and distribute the website traffic between them. An Elastic Load Balancer allows you to do just that.
It distributes incoming application or network traffic across multiple targets, such as Amazon EC2 instances, containers, and IP addresses, in multiple Availability Zones.
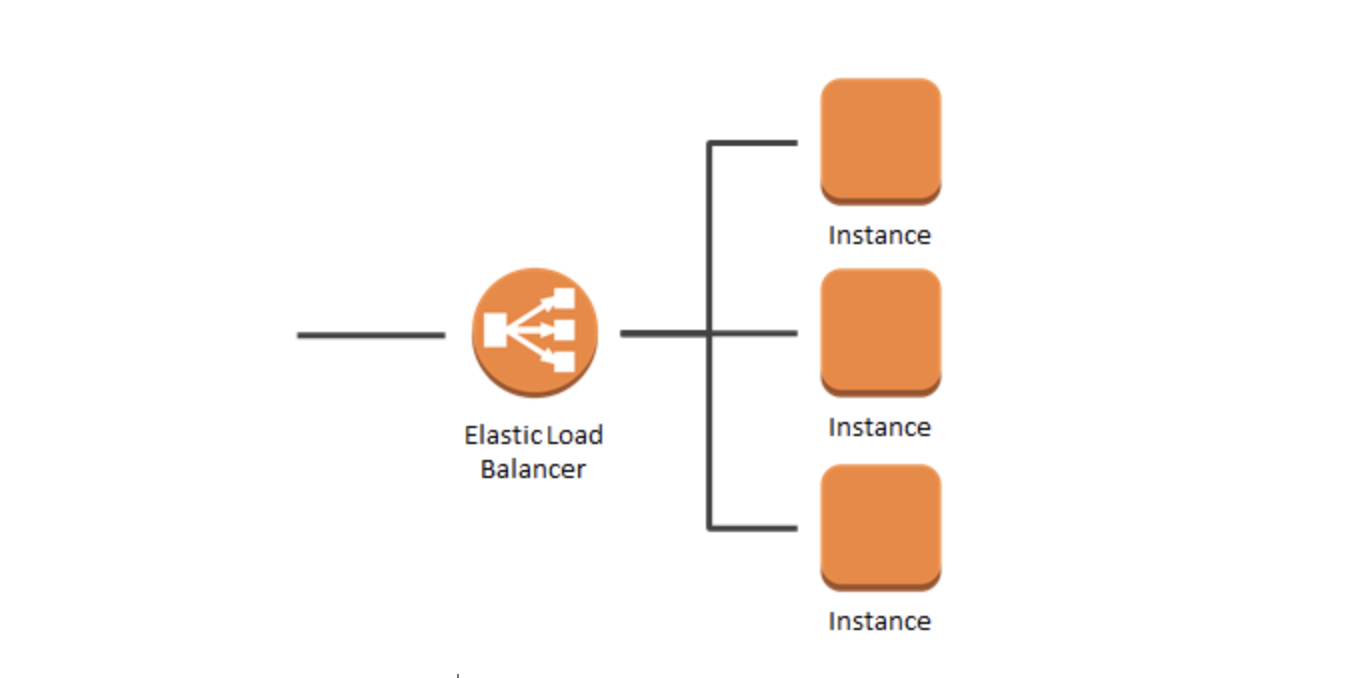
It uses health checks to detect which instances are healthy and directs traffic only across those instances.
Types of Elastic Load Balancers
There are three types of load balancers available. You can use the one that best fits your use case.
1. Classic Load Balancer (CLB)
This is the previous generation load balancer that was used for EC2-classic instances.
It operates on both the request level and the connection level. But it doesn’t support features like host-based routing or path-based routing.
Once configured, it distributes the load across all the registered instances regardless of what is present on the servers.
Hence, it can only be used to distribute traffic to a single URL.
2. Application Load Balancer (ALB)
This load balancer is specially designed for web applications with HTTP and HTTPS traffic.
There is a networking model called the OSI Model (Open Systems Interconnection) that is used to explain how computer networks work. This model has 7 layers and the top layer is the Application Layer.
This load balancer works at this Application Layer, hence the name.
It also provides advanced routing features such as host-based and path-based routing and also works with containers and microservices.
Host-based Routing Suppose you have two websites hasnode.com and admin.hasnode.com. Each website is hosted on two EC2 instances for high availability and you want to distribute the incoming web traffic between them.
If you were using the CLB you would have to create two load balancers, one for each website.
But you can do the same thing using a single ALB!
Hence you will be saving money as you will only be paying for a single ALB instead of two CLBs.
Path-based Routing Suppose the website of your company is saquib.com and the company’s blog is hosted on saquib.com/blog. The operations team has decided to host the main website and the blog on different instances.
Using ALB you can route traffic based on the path of the requested URL. So again a single ALB is enough to handle this for you.
3. Network Load Balancer (NLB)
This load balancer operates at the Network layer of the OSI model, hence the name.
Suppose your company’s website is running on four m4-xlarge instances and you are using an ALB to distribute the traffic among them.
Now your company launched a new product today which got viral and your website starts to get millions of requests per second.
In this case, the ALB may not be able to handle the sudden spike in traffic.
This is where the NLB really shines. It has the capability to handle a sudden spike in traffic since it works at the connection level.
It also provides support for static IPs.
I hope by this time you have got a rough idea about load balancers. Now, enough talking, let’s go practical.
Creating an Application Load Balancer
We will handle a case of path-based routing. We will be handling two paths here, “/” and “/blog”.
We will launch two instances, one for handling each path. Let’s get started!
1. Launch two EC2 instances
For the first instance, give a tag with Name as the key and Marvel as the value. For the second instance, give a tag with Name as the key and Dc as the value. This will help us in distinguishing between them.
After launching the two instances, your dashboard should look like this.

2. Install Apache server on instances
Now SSH into the first instance (with the name Marvel) and run the following commands to install and start the apache server.
sudo su
yum update -y
yum install -y httpd
systemctl start httpd
systemctl enable httpd
cd /var/www/html
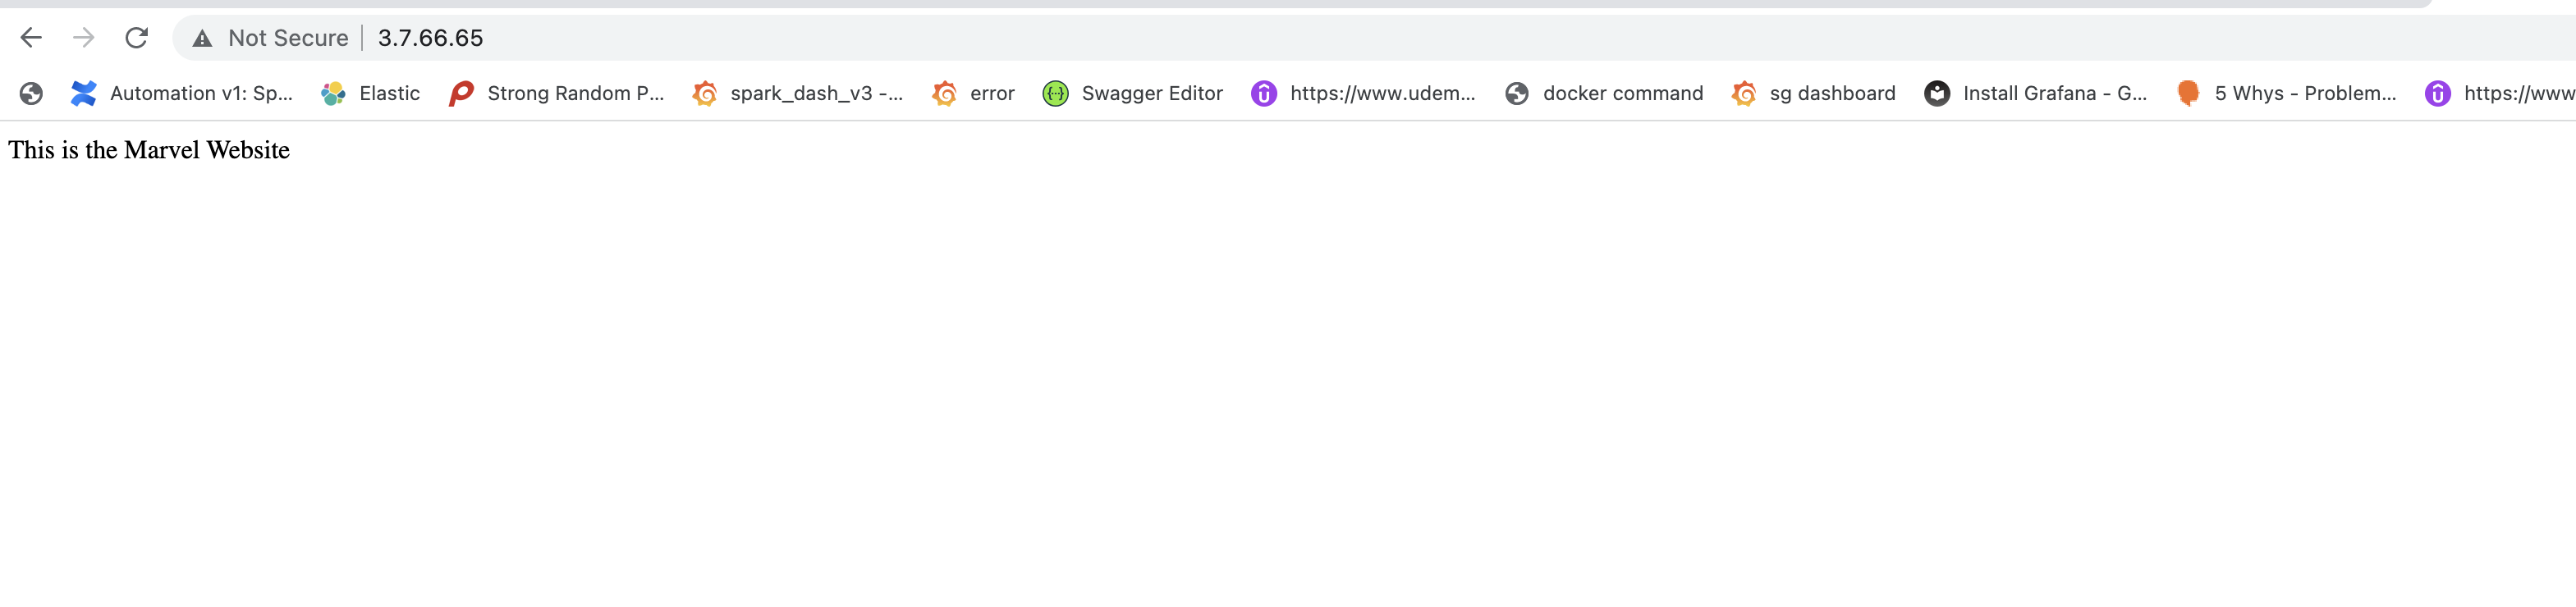
echo "This is the Marvel Website" > index.html
Now paste the IP address of the instance in the browser and hit Enter.
You should see something as shown in the picture below.
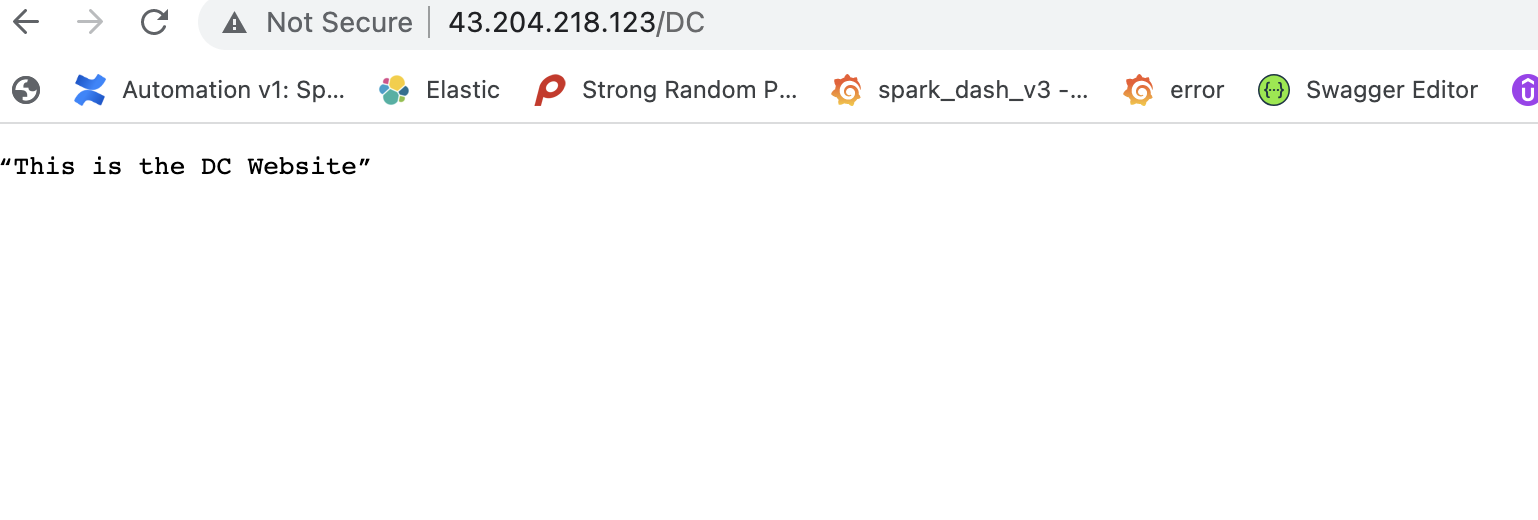
Now SSH into the second instance (with the name Dc) and run the same commands except the last command. Instead, run the following command.
echo “This is the DC Website” > DC
Paste the IP address of this instance with /DC as the suffix in the browser and hit Enter. You should see something like the one below.
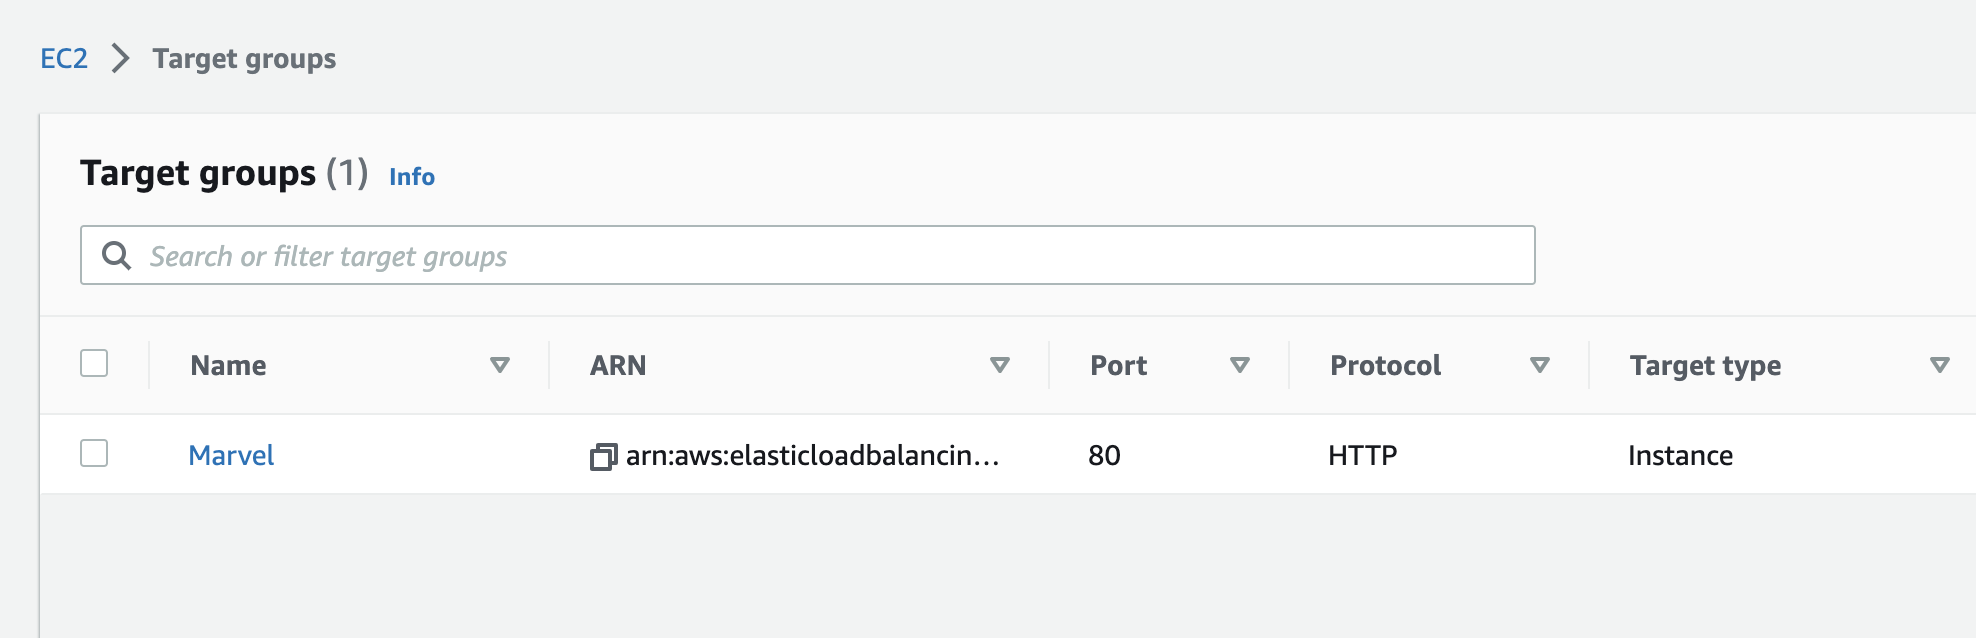
3. Create Target Groups
A target group allows you to tell the load balancer which protocol and port will receive the traffic on the registered instances.
- In the left navigation bar, scroll down and click on Target Groups. Now click on Create target group at the top. Give your target group the name Marvel and click Create button.
Now, navigate to the Targets tab at the bottom, click on Edit, select the Main instance, click Add to registered and click Save.
Create another target group with the name Dc and add the Dc instance to it as we did above.

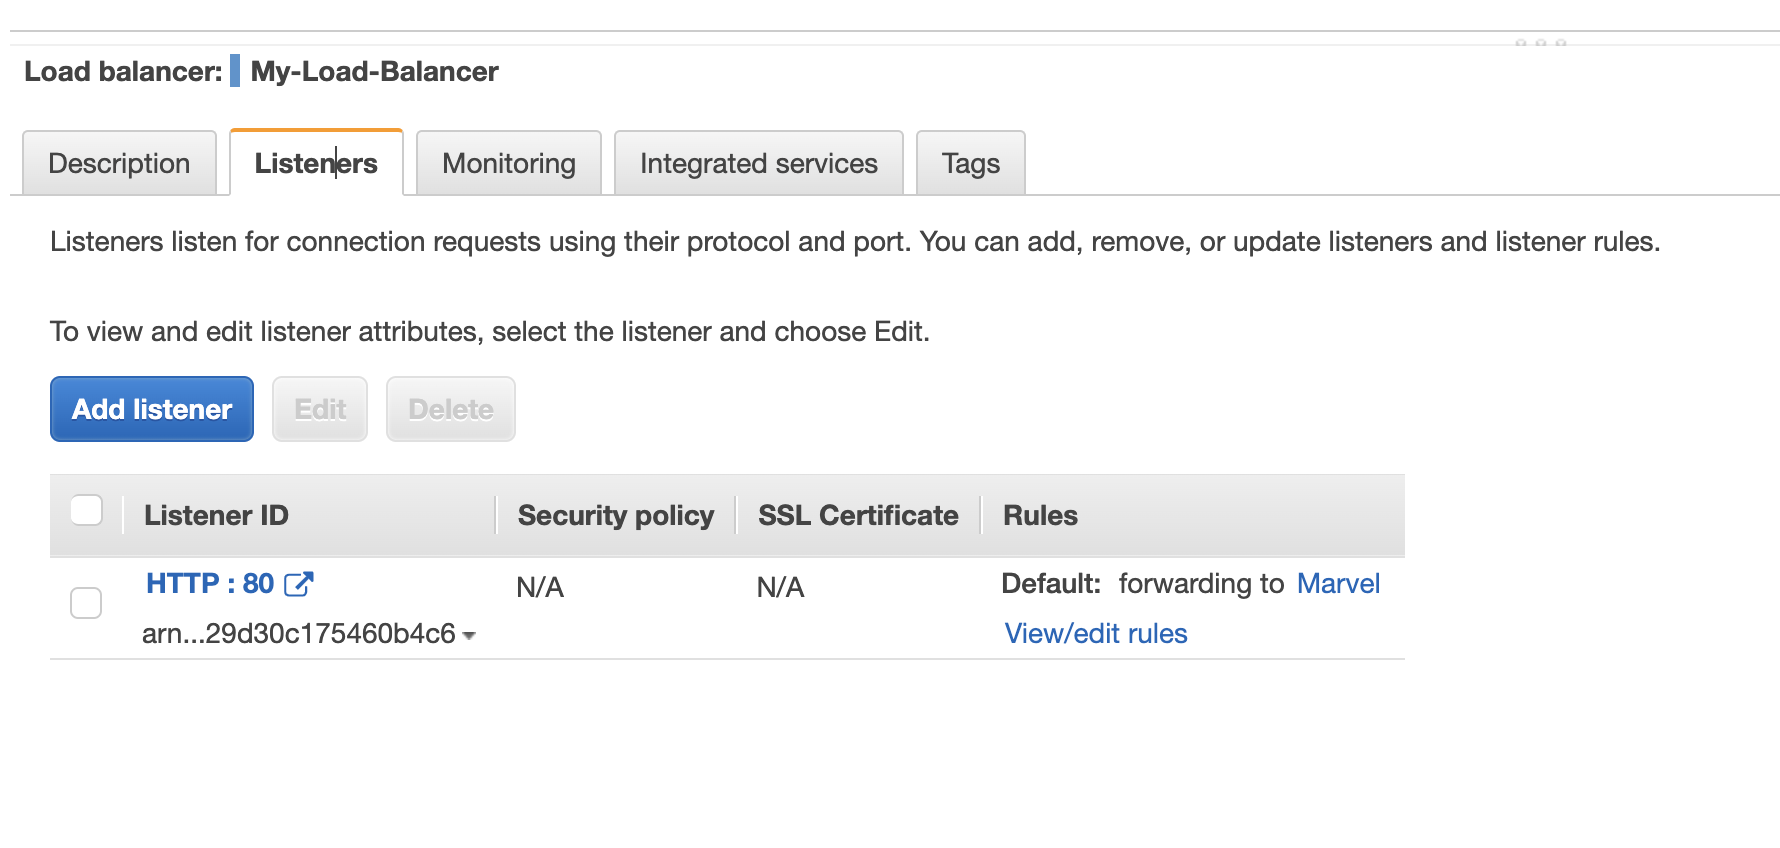
4. Creating and configuring the Application Load Balancer
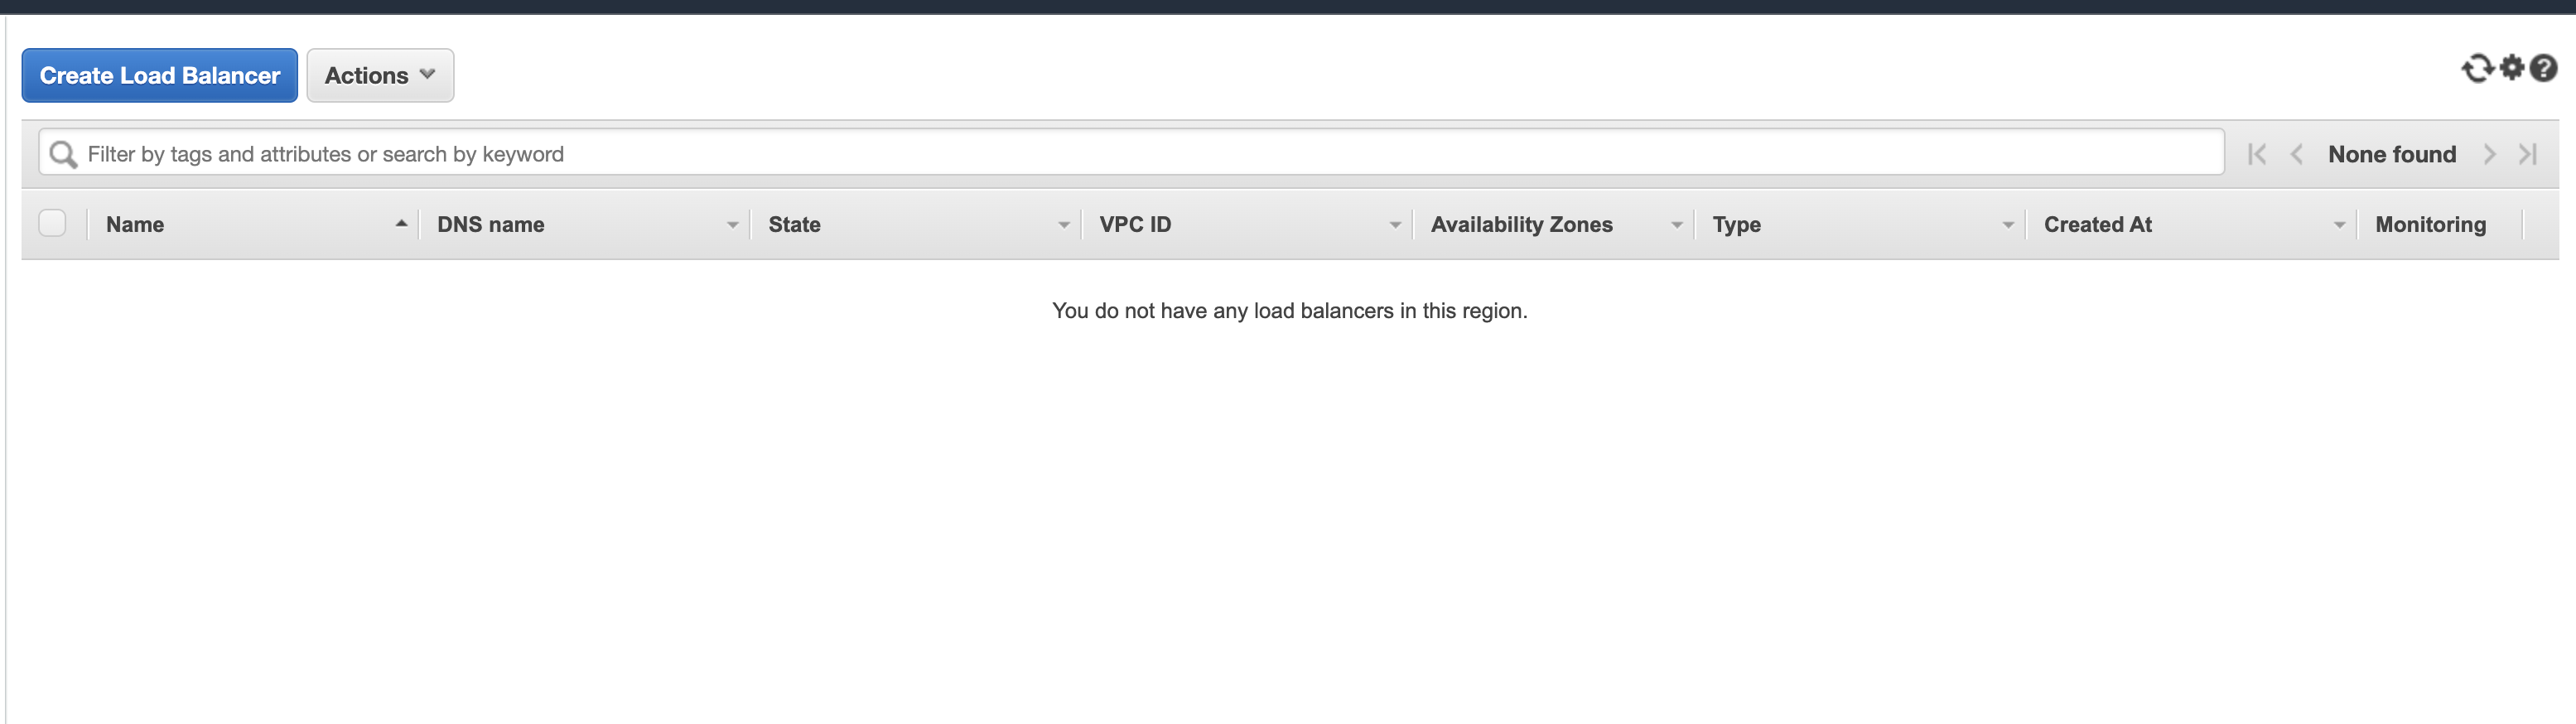
Now, in the left navigation scroll down and click on Load Balancers. Click on the Create Load Balancer button at the top.
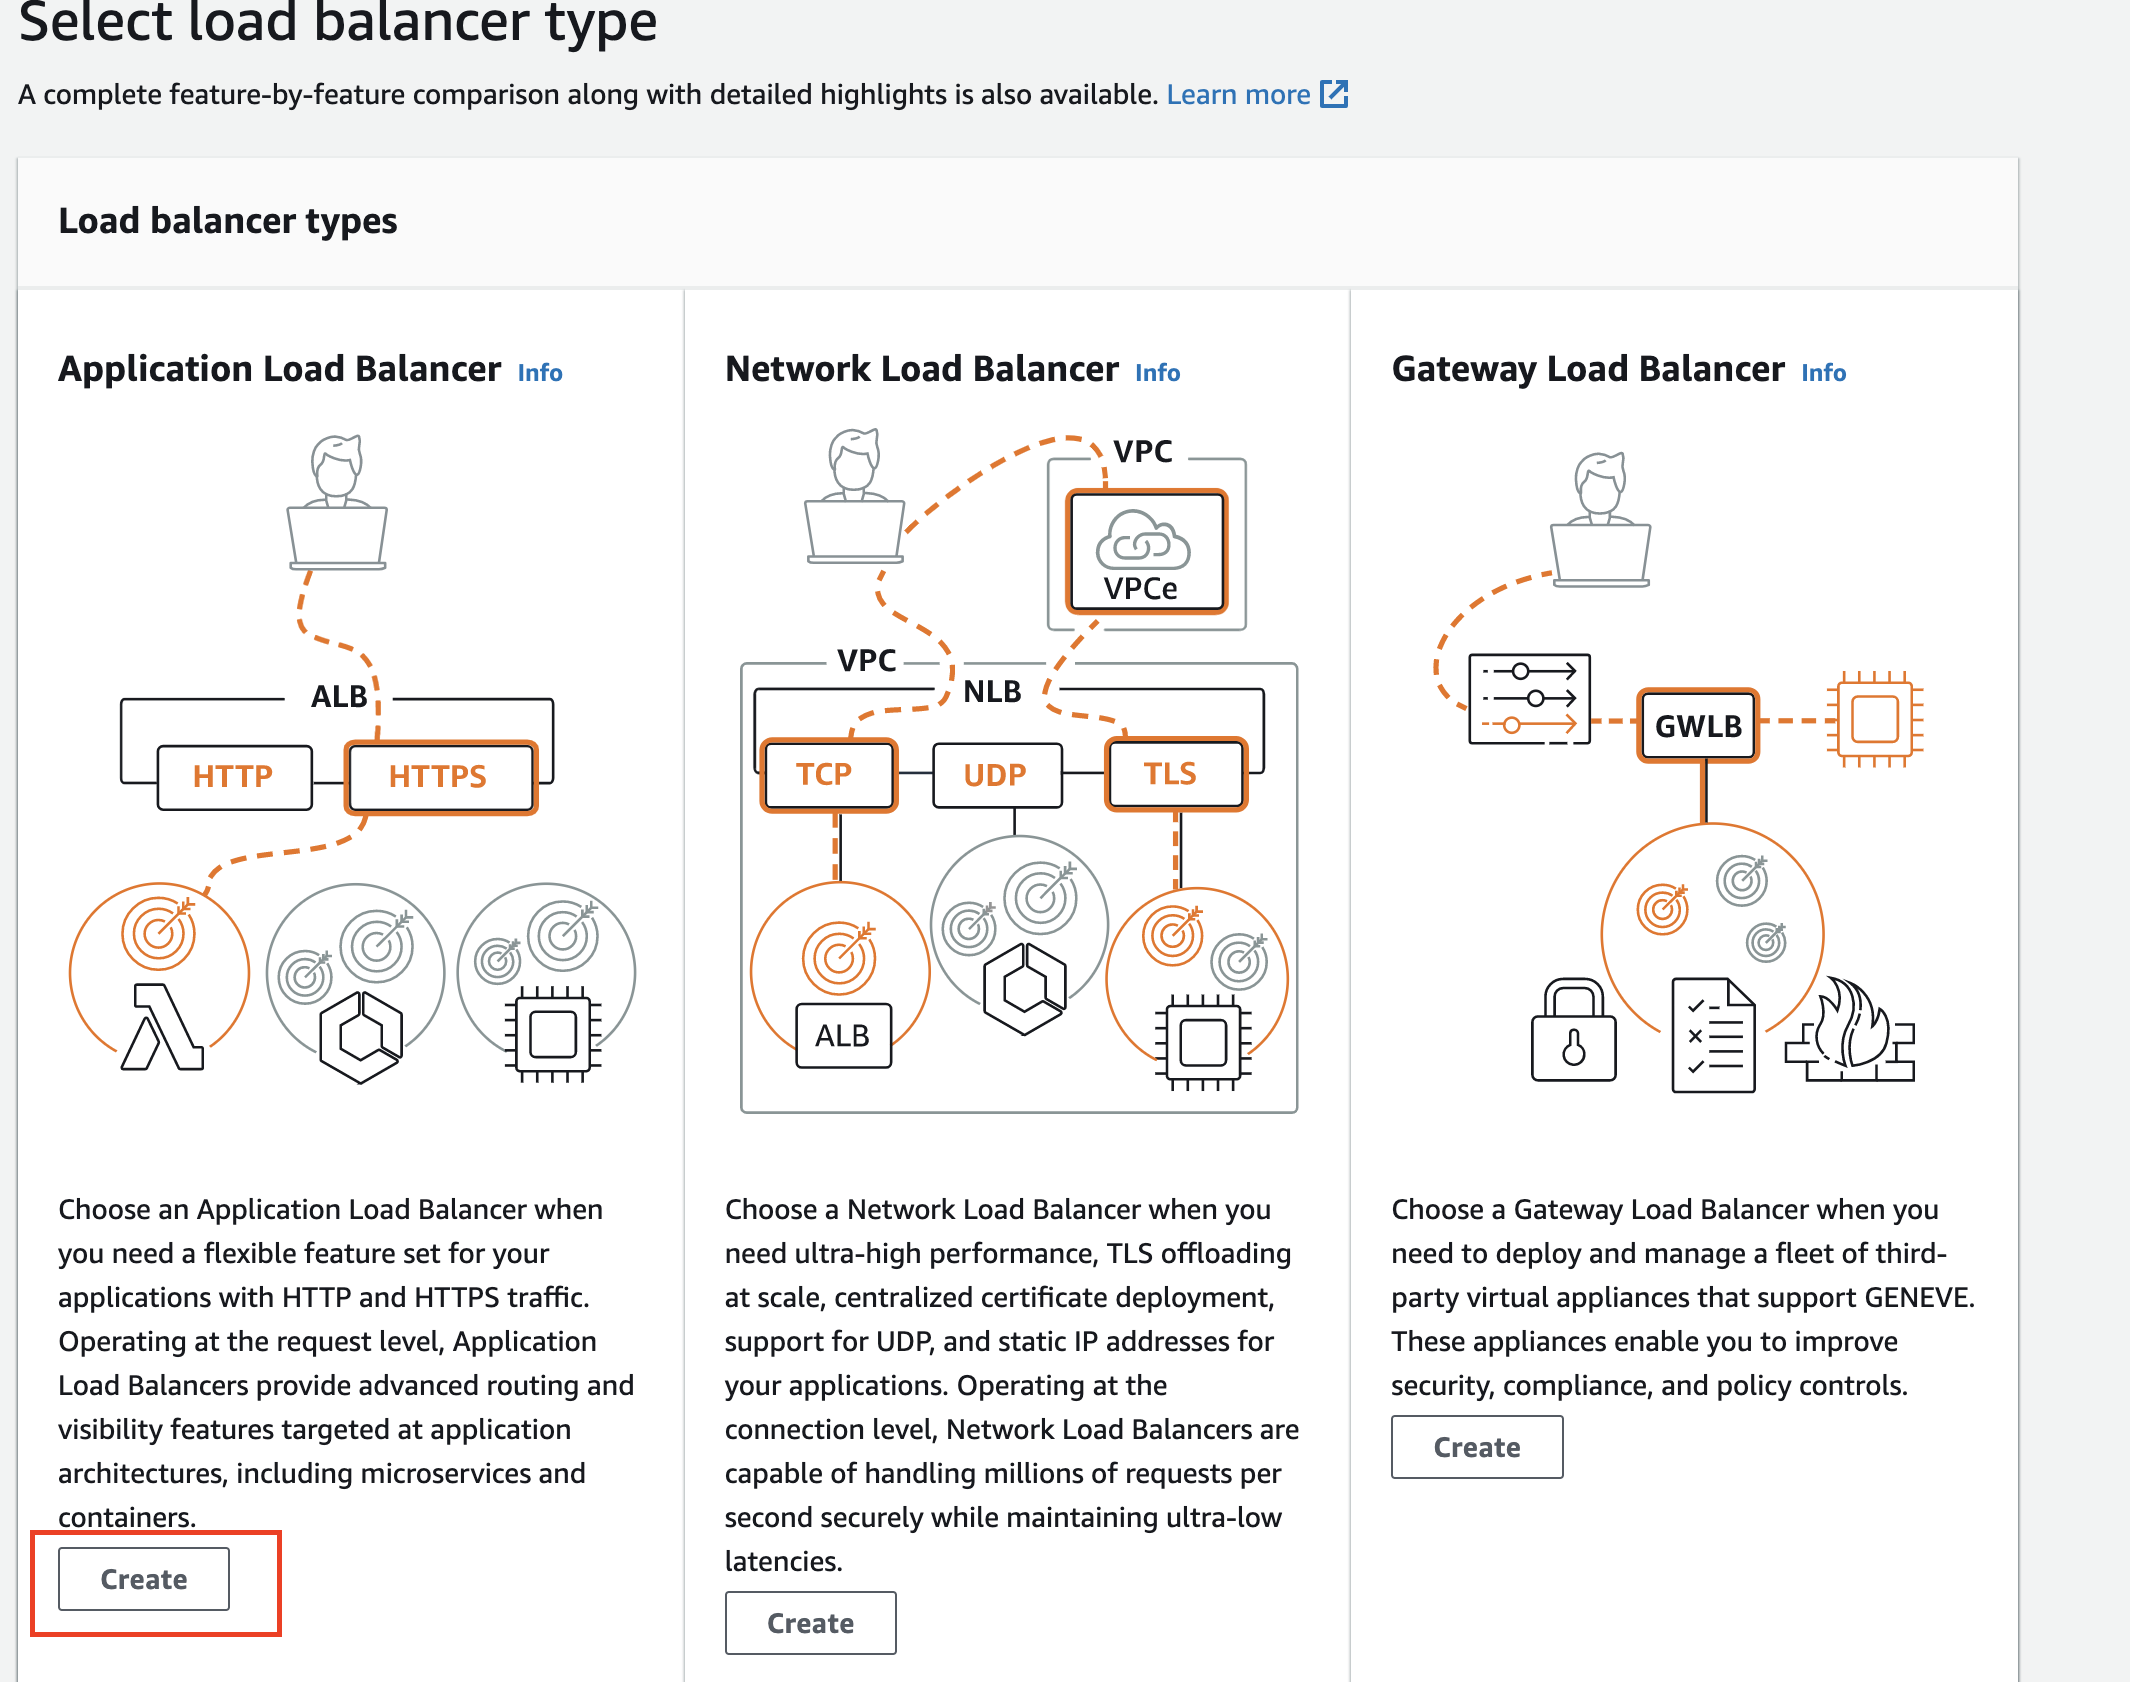
- Choose the Application Load Balancer.
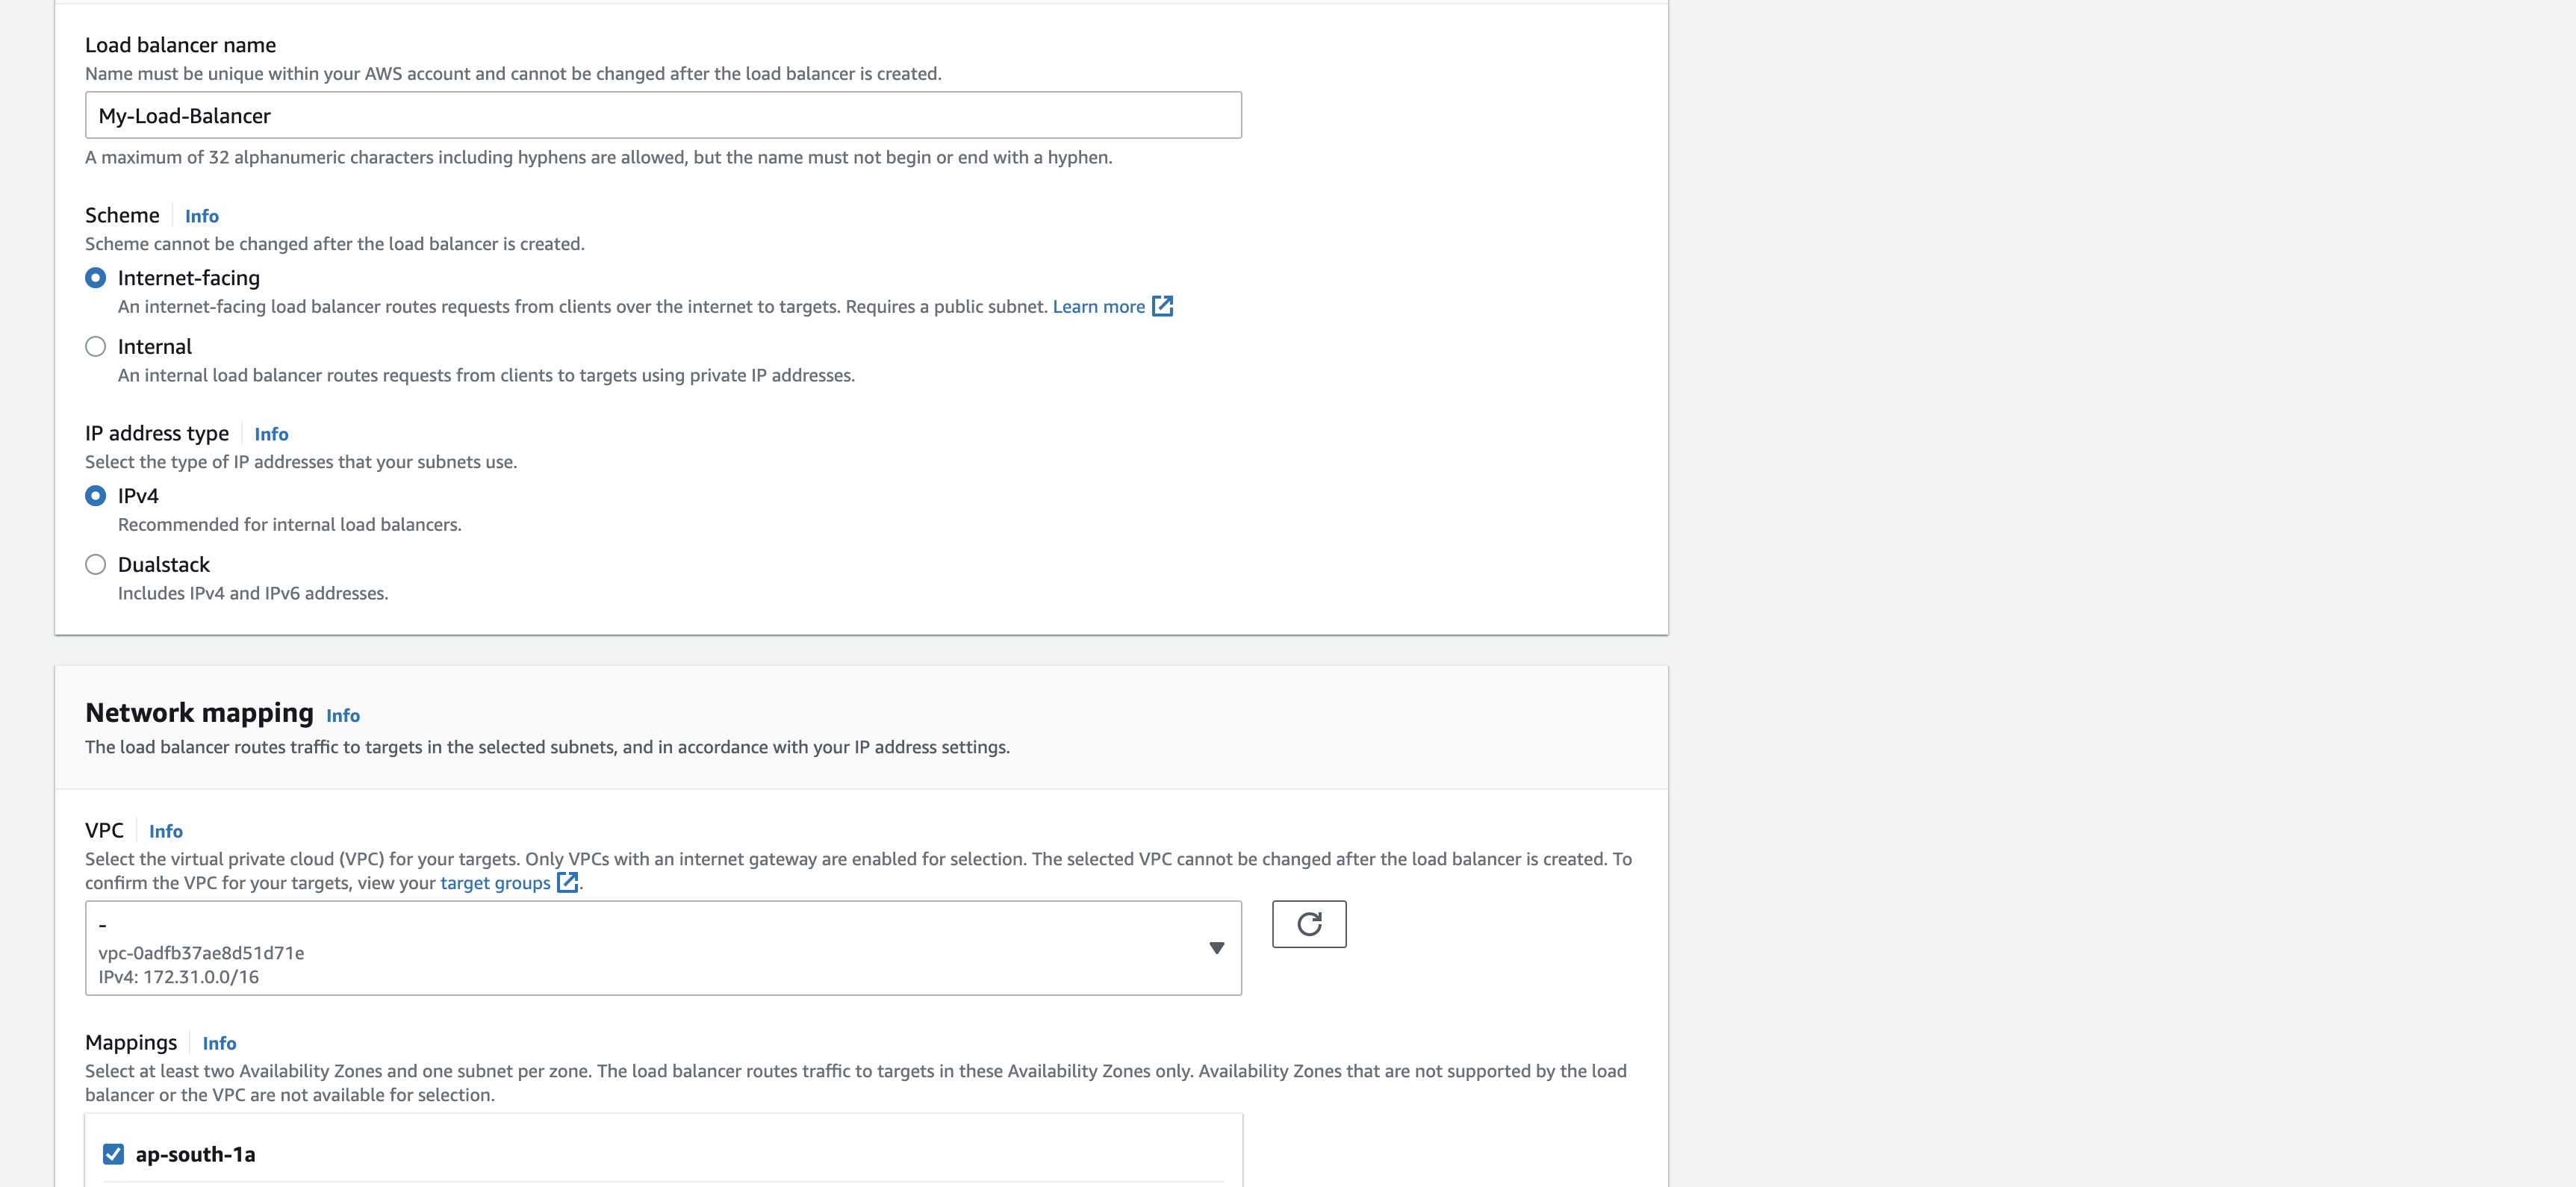
- Give a name to your load balancer and select at least two availability zones for high availability and click on the Create button
Congratulations, you have just created an Application Load Balancer!
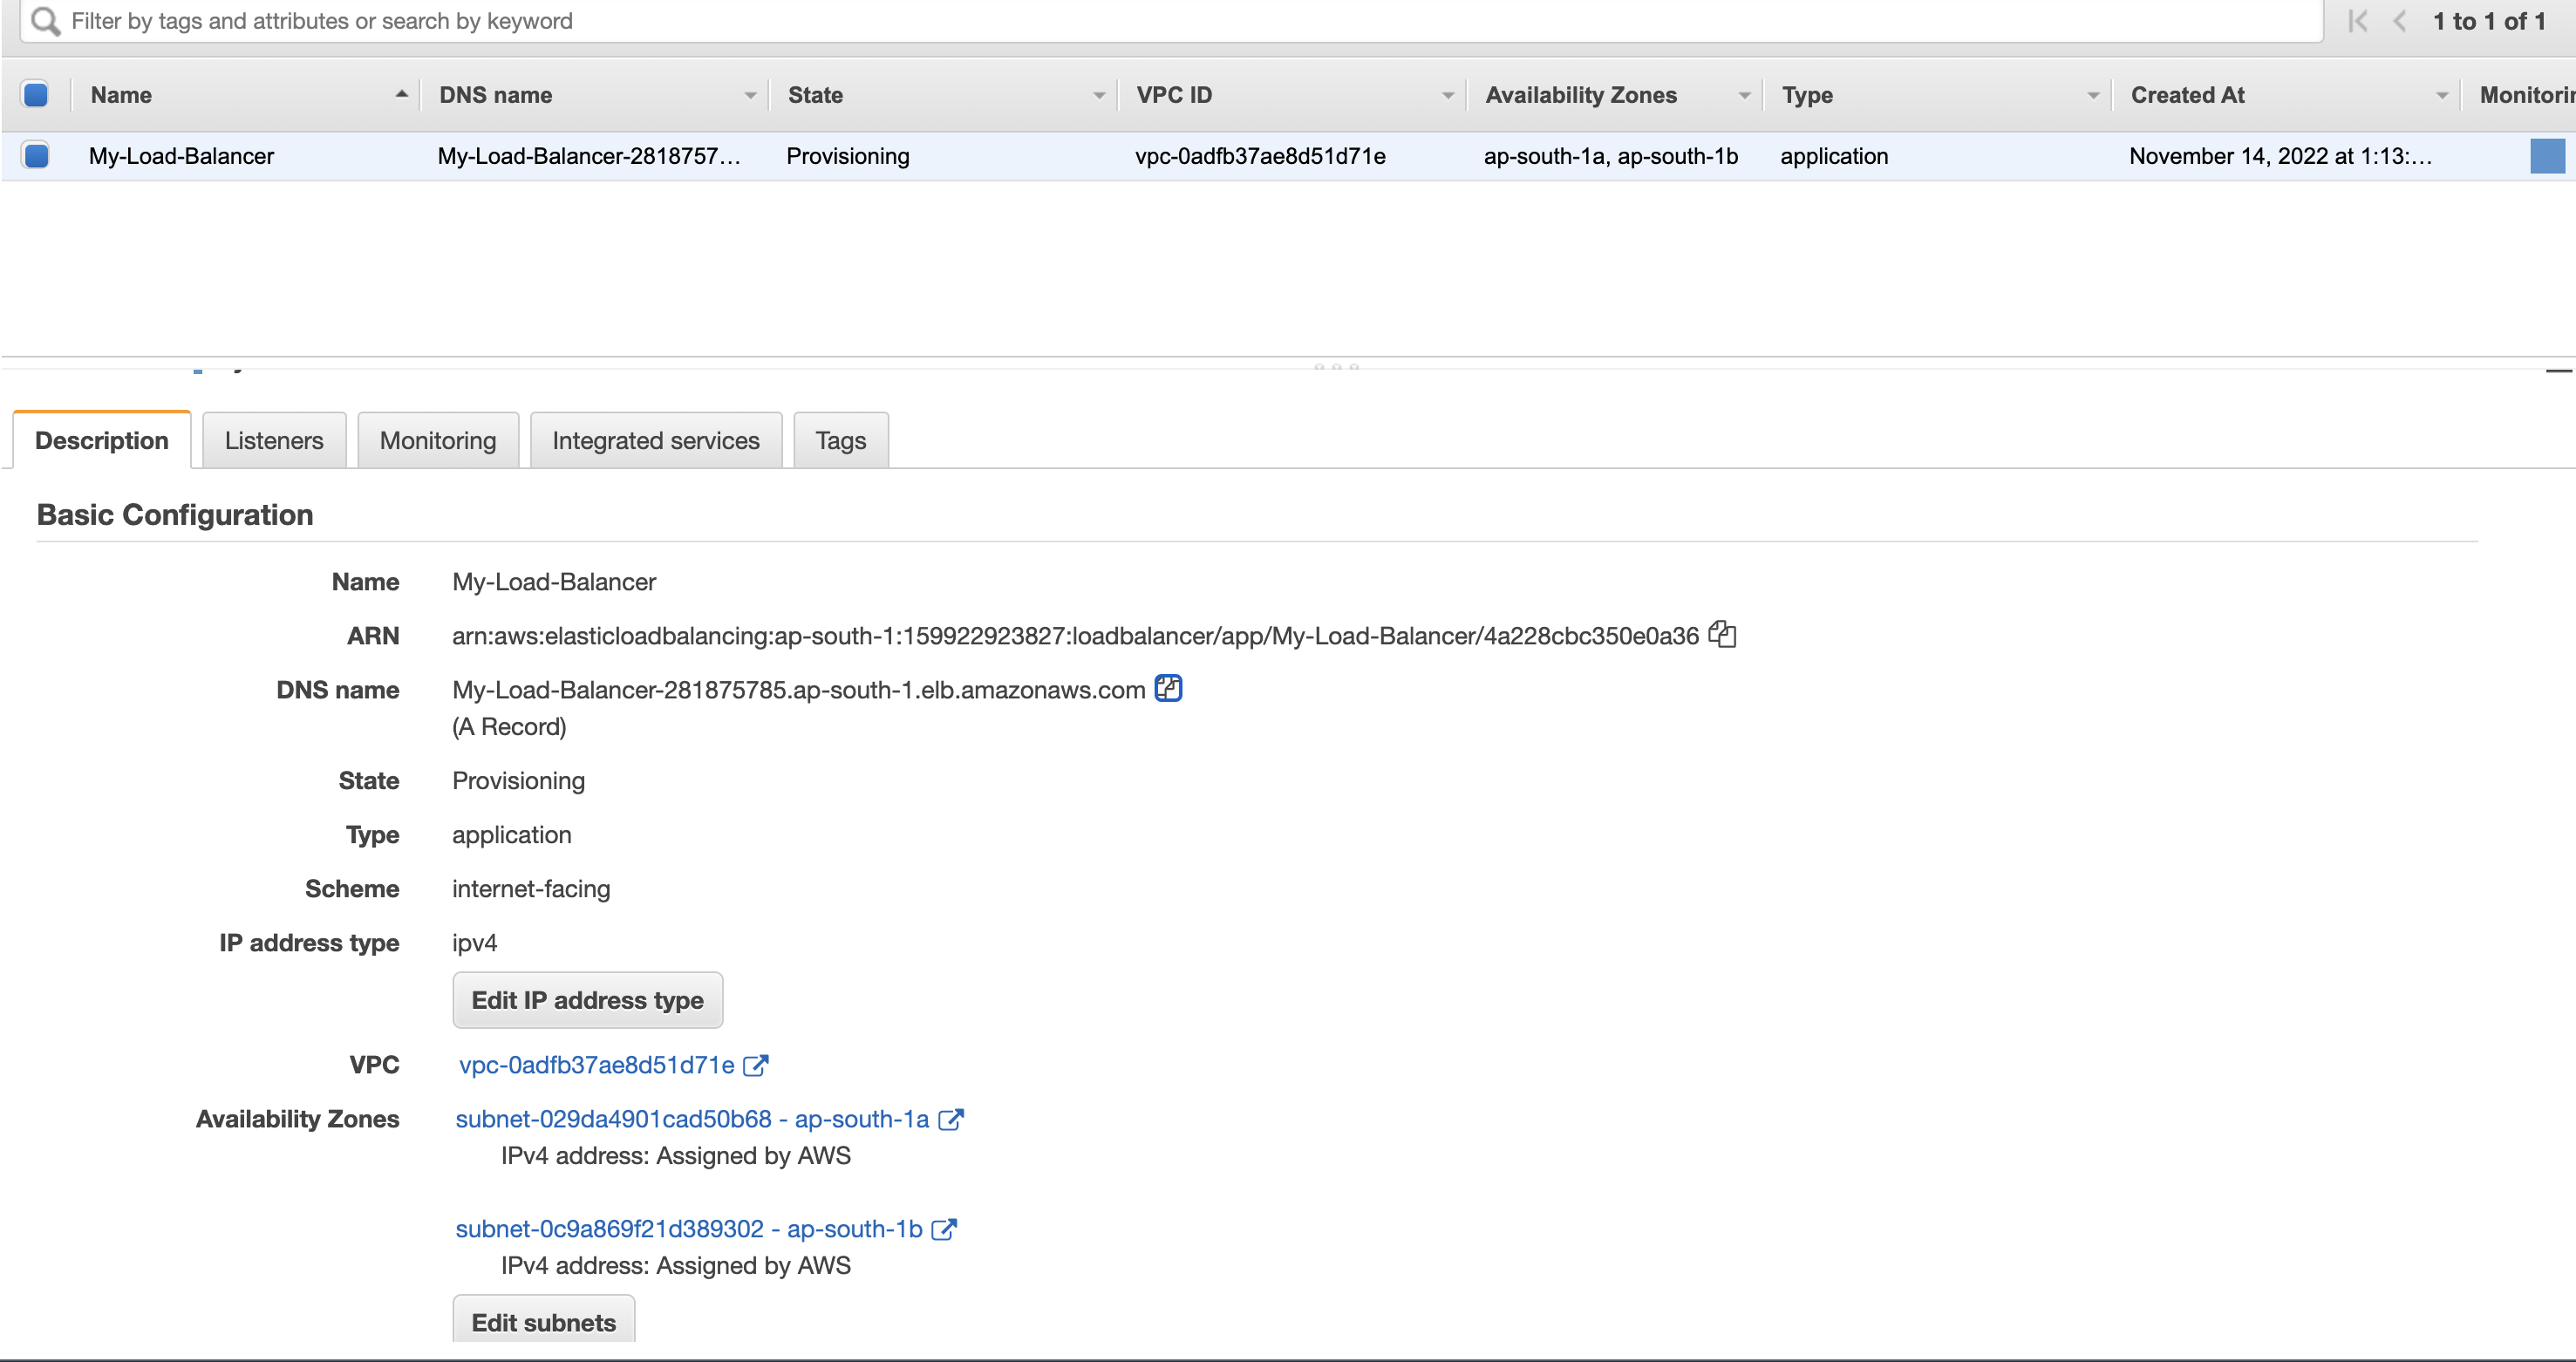
But we still have to configure our Dc instance so let’s continue. Take note of the DNS name of the Load balancer here. We will need it at the end.
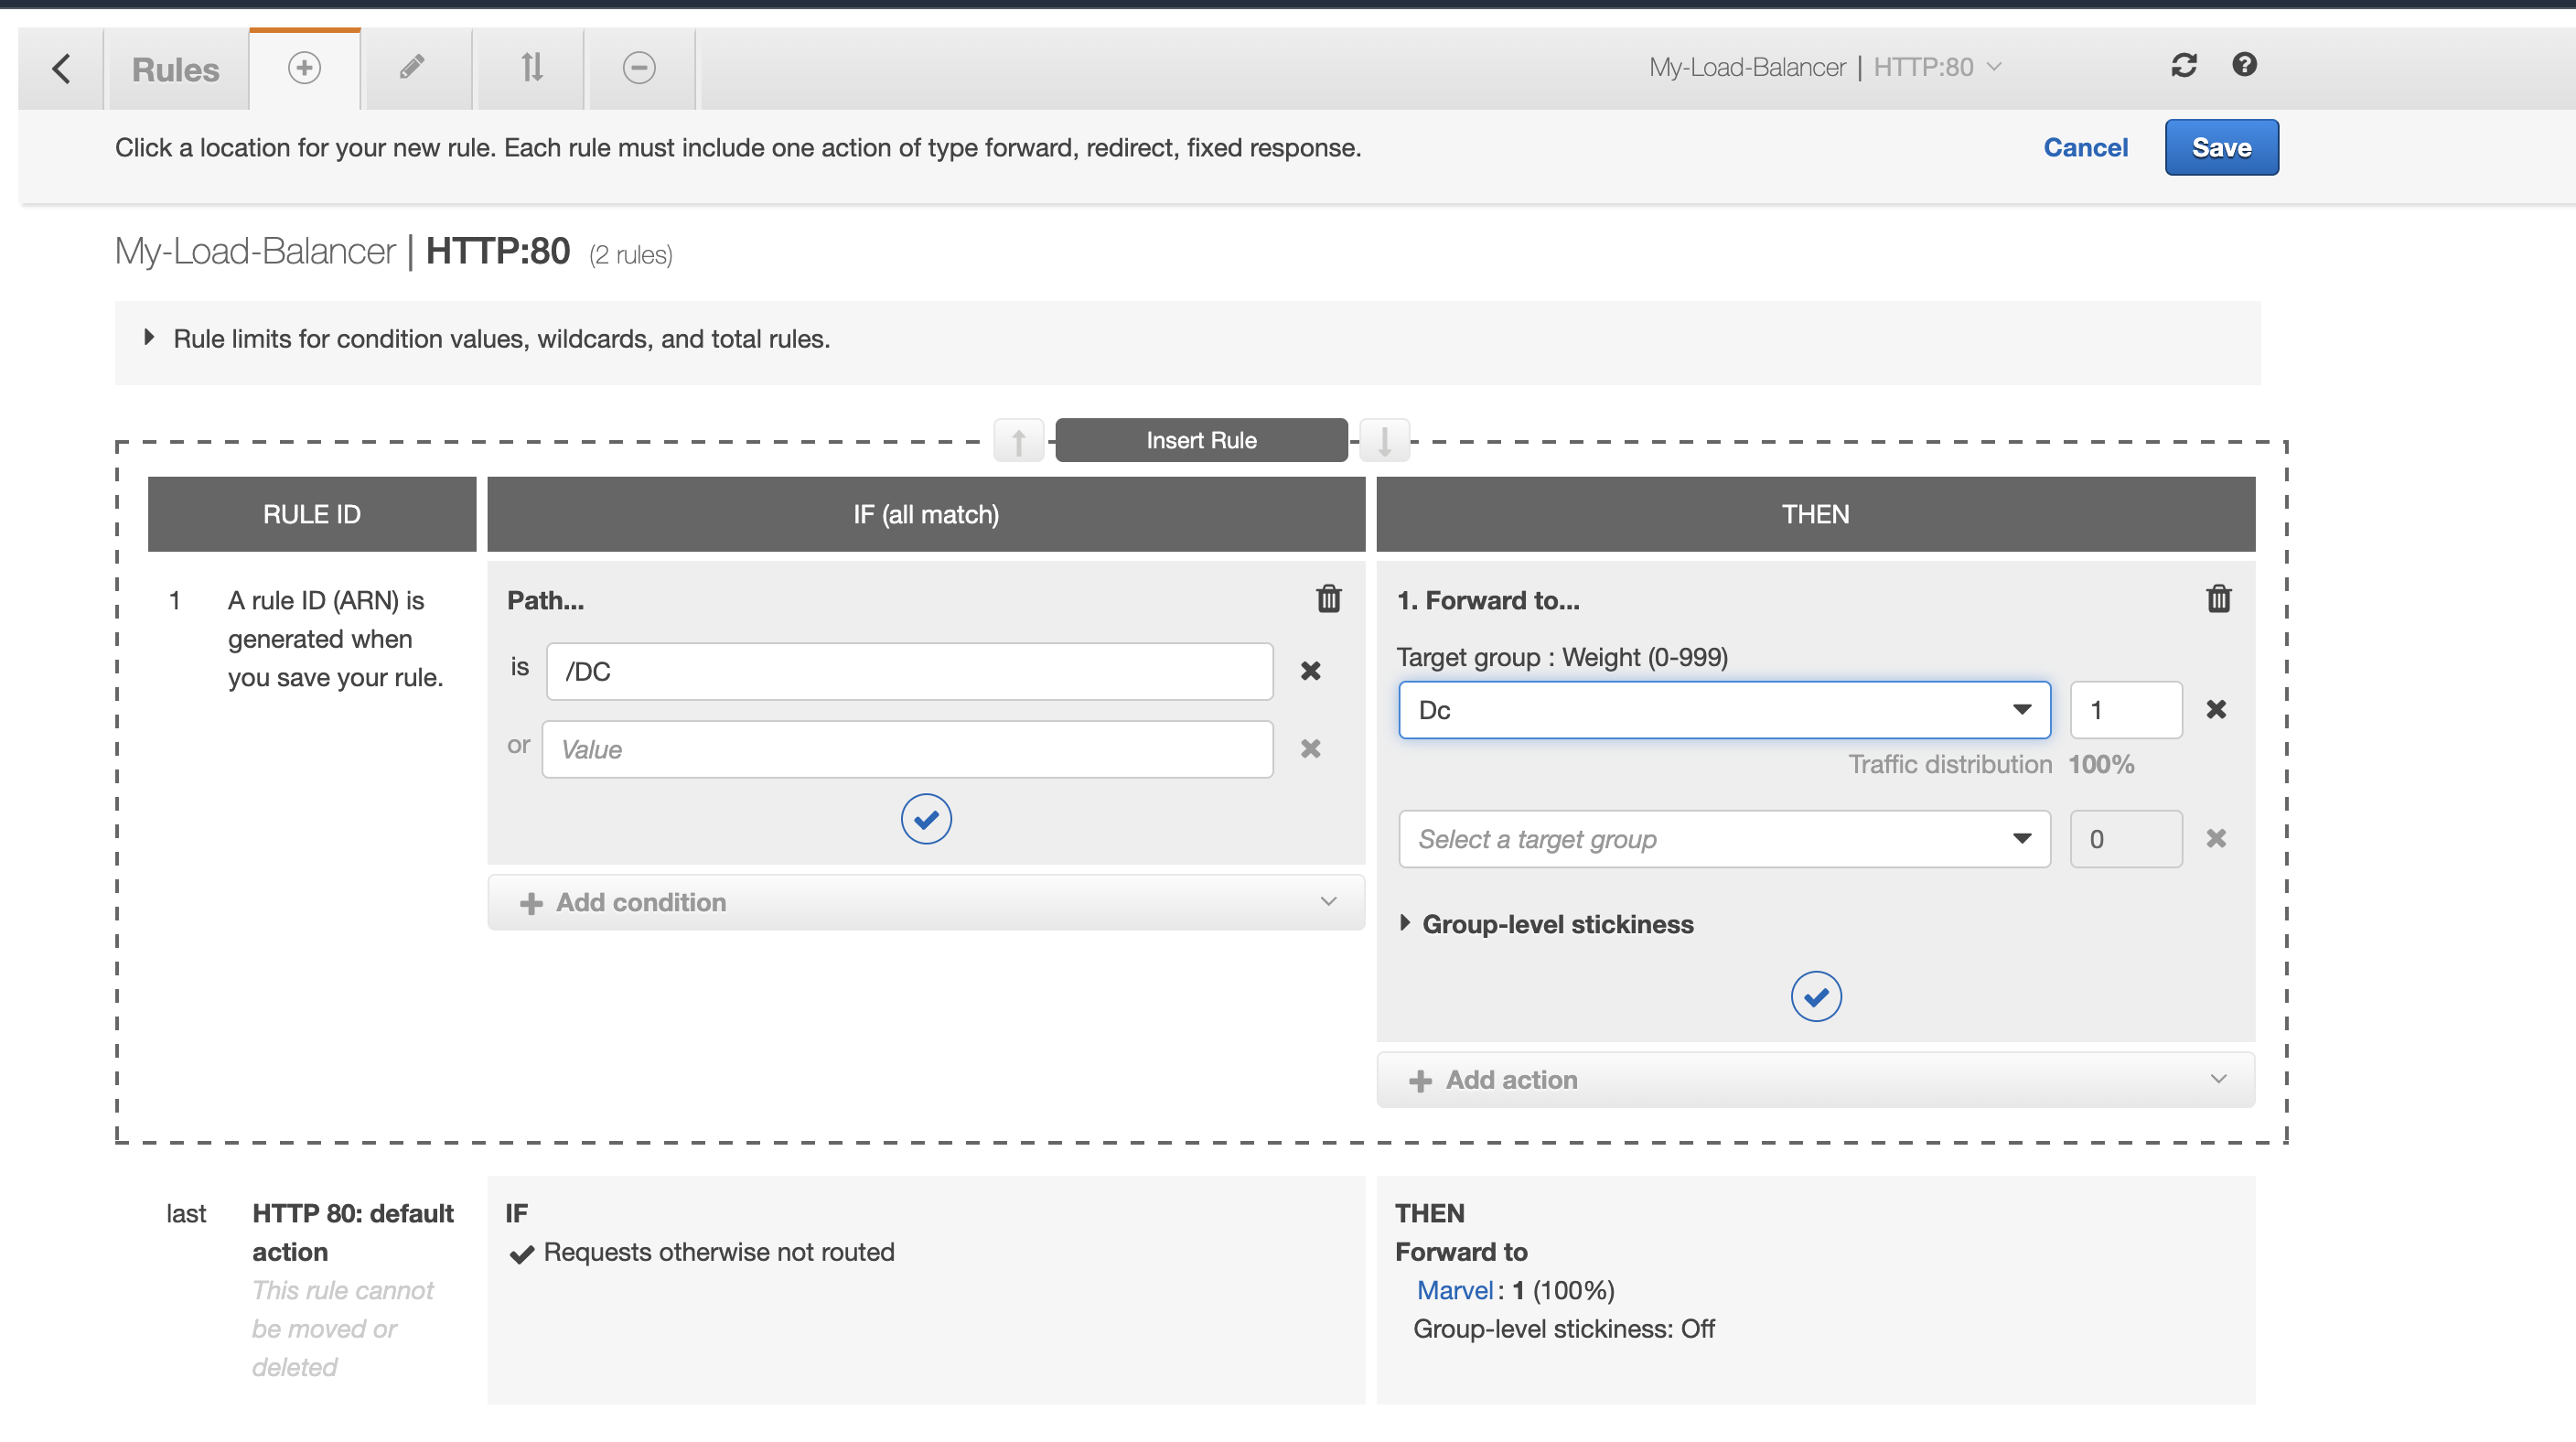
Click the + sign at the top to add a rule. In Add Condition select “Path is” and type /DC.
Then in Add Action select Forward to and select Dc and then click Save.
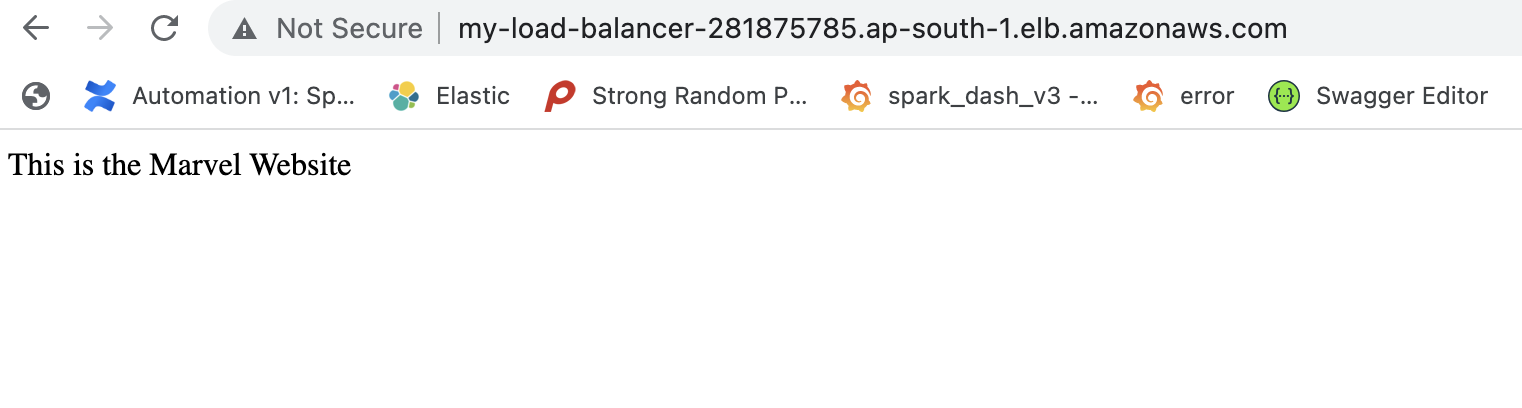
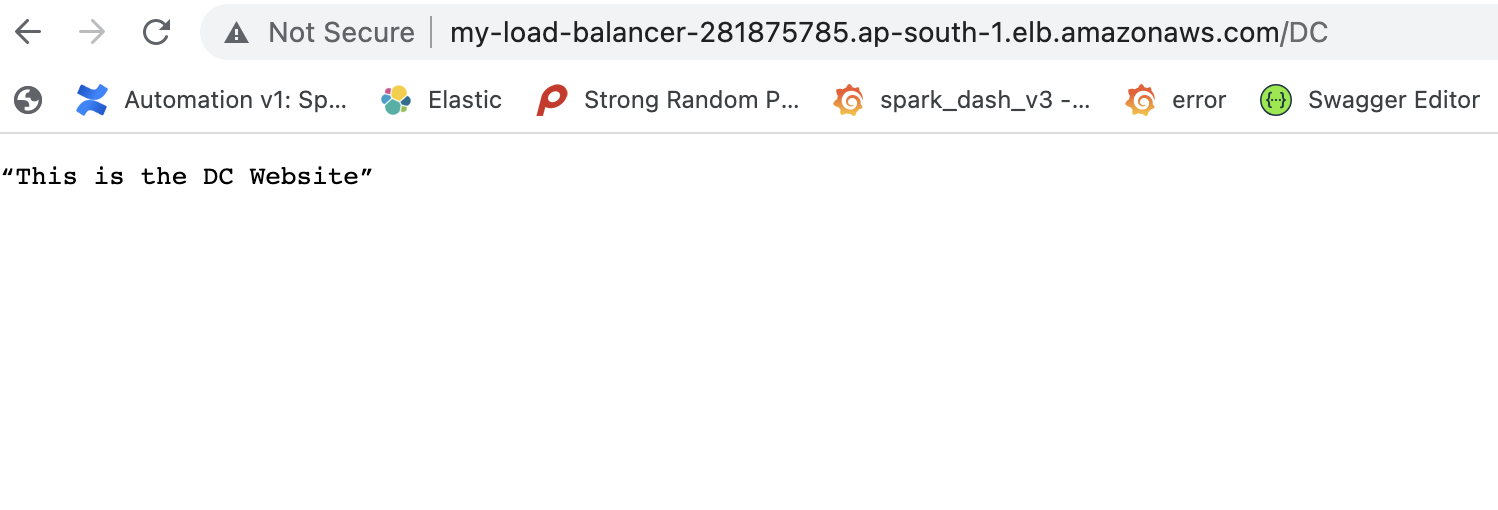
Now, we can use the DNS name of our load balancer to visit the two different paths and see the results.
For /
For /DC
I hope you learned something from this article. Do share to reach more people who would love it!
Thanks for cloud computing :)


